You’ve pressed the power button on your PC, expecting the familiar boot-up sequence. Instead, your motherboard flashes a yellow light, and nothing happens. If you’re seeing this, don’t worry—it’s a common issue, and there are practical steps to diagnose and fix it. This guide will walk you through what the yellow light means, common causes, and troubleshooting steps to get your system back on track.
What Does a Yellow Light on the Motherboard Mean?
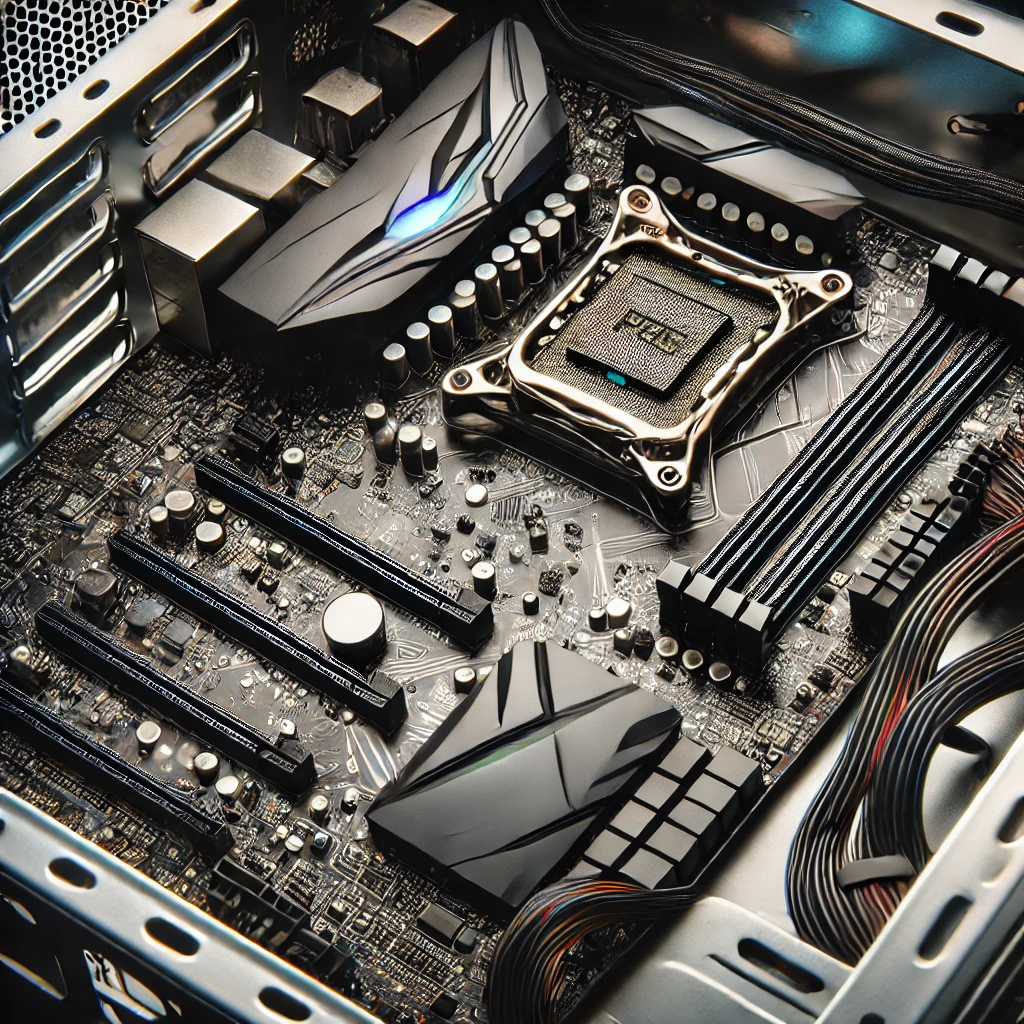
A yellow light on your motherboard usually signals a hardware issue. Most commonly, it points to problems with the RAM, CPU, or power supply. Different motherboard brands may have slightly different meanings for their diagnostic lights, but generally, a yellow indicator highlights one of these hardware concerns. Understanding what could be causing this light will help you quickly find and resolve the issue.
Common Causes of the Yellow Light
- RAM Issues: Improperly seated or incompatible RAM modules can prevent booting, and the yellow light serves as a warning.
- Power Supply Problems: Power fluctuations, a loose connection, or inadequate power from the PSU can trigger the yellow light.
- CPU Problems: If the CPU is incorrectly seated or has an issue, the yellow light can indicate this as well.
- Motherboard Malfunction: Occasionally, a yellow light can point to a problem with the motherboard itself, especially if it has been exposed to dust, static, or is nearing the end of its life.
- Peripheral Issues: Some connected components, such as GPUs or storage drives, may also cause the yellow light if they are malfunctioning or improperly connected.
How to Troubleshoot the Yellow Light Step-by-Step
Let’s walk through each component that could be the source of the yellow light, starting with the most likely candidates.
Step 1: Check Your RAM
- Power Down: Turn off your PC and unplug it from the power outlet.
- Open the Case: Carefully open your case, ideally on a non-conductive surface to avoid static.
- Reseat RAM Modules: Locate the RAM modules on the motherboard. Press down the side clips and remove each module. Inspect each module for physical damage, dust, or debris. Reseat each module securely in its slot, pressing firmly until you hear a click.
- Test One Module at a Time (if applicable): If you have multiple RAM sticks, try installing just one at a time in different slots to identify if a specific module or slot is faulty.
After reseating or testing individual modules, close the case, reconnect power, and try booting up the system to see if the yellow light persists.
Step 2: Inspect the Power Supply Connections
- Check Power Cables: Unplug and then reconnect the power cables from the PSU to the motherboard, ensuring that both the main 24-pin connector and any CPU-specific 4- or 8-pin power connectors are firmly seated.
- Verify PSU Functionality: If possible, test your power supply in another system or use a different PSU in your current setup to rule out any issues with power delivery.
Ensure everything is plugged in correctly and securely. A loose connection can be enough to prevent a successful boot and trigger a warning light.
Step 3: Check the CPU Installation
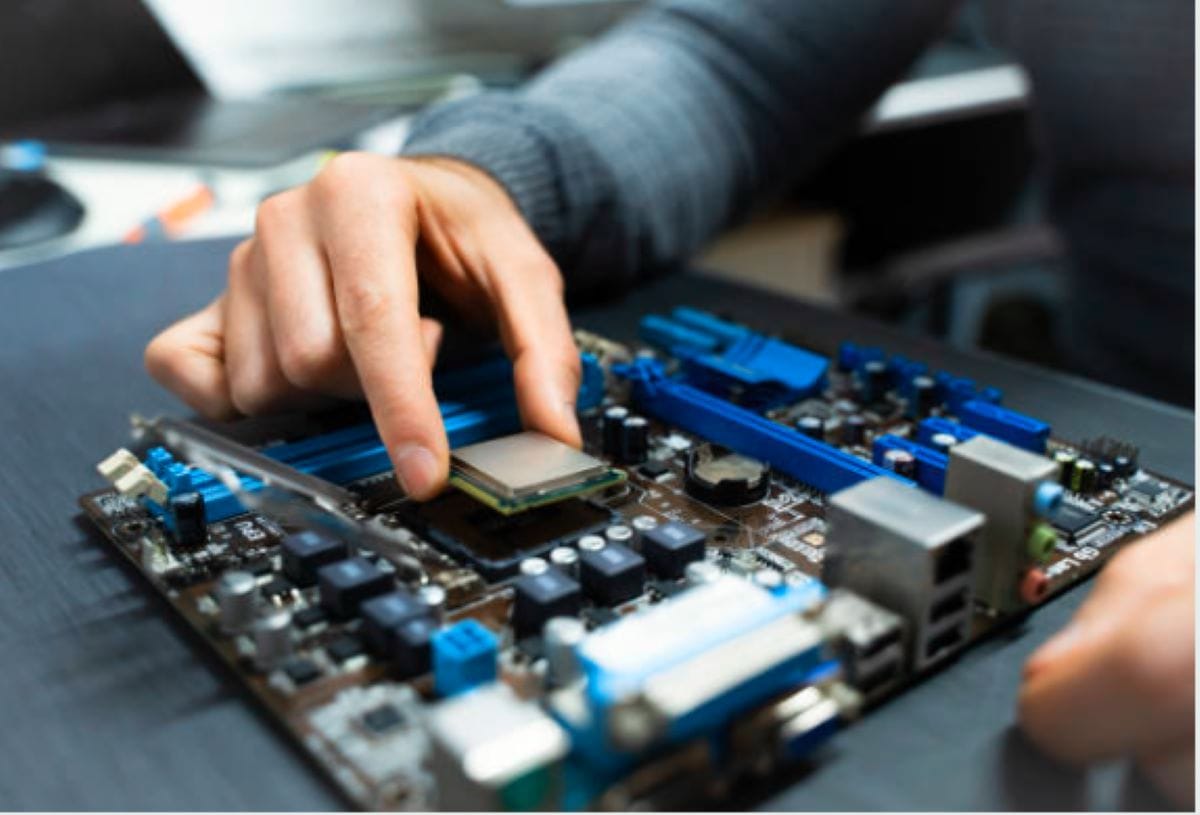
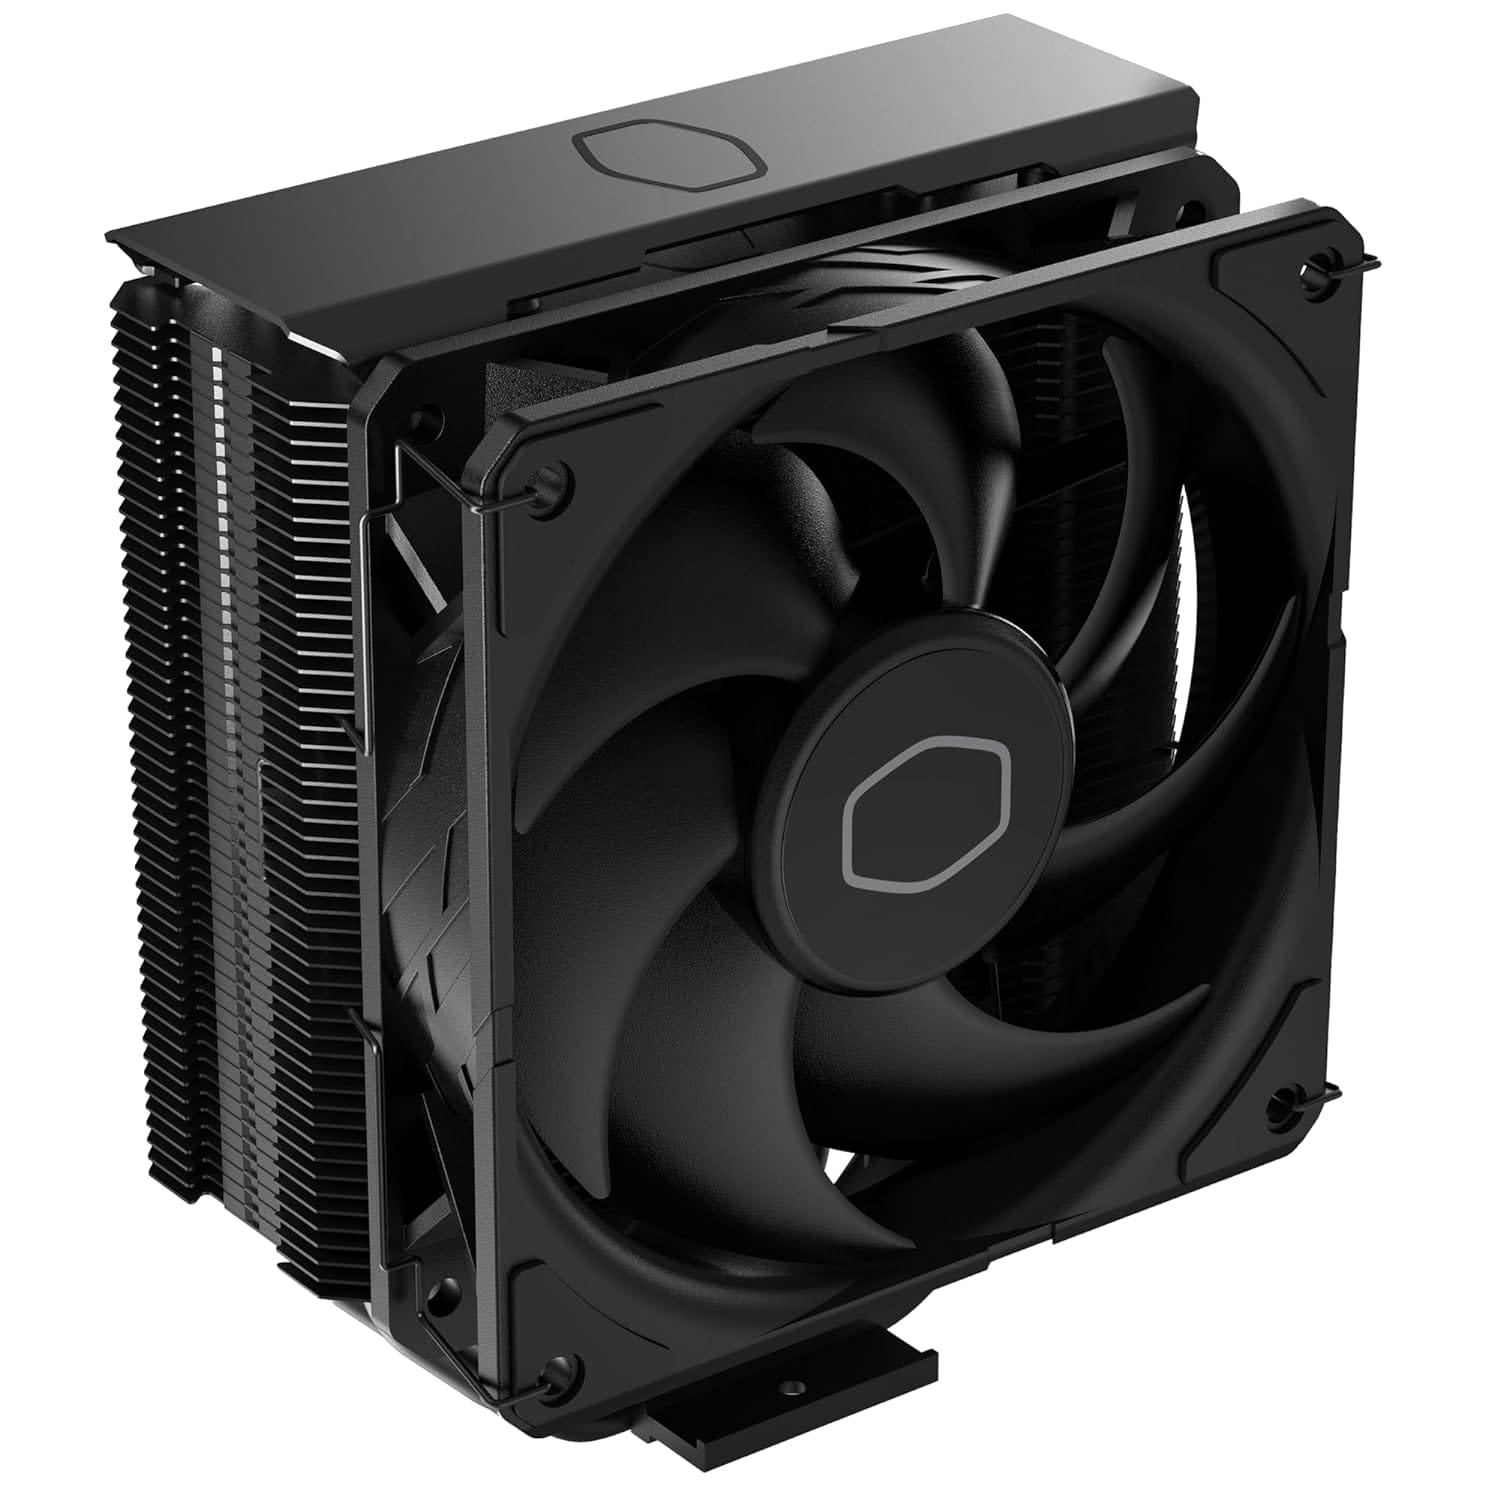
- Inspect the CPU Socket and Heatsink: If the yellow light persists, turn off your PC and unplug it again. Open the case, remove the CPU cooler, and carefully remove the CPU from its socket.
- Check for Bent Pins: Inspect the CPU and socket for any bent or misaligned pins, which can cause connection issues. If the pins are bent, handle them gently; you may need a professional to realign them.
- Reseat the CPU and Cooler: Place the CPU back into the socket carefully, ensuring it’s properly aligned. Reseat the cooler with adequate thermal paste and secure it according to manufacturer instructions.
Once the CPU and cooler are in place, reconnect power and try booting the system again.
Step 4: Test for Motherboard Malfunction
- Visual Inspection: Look for any signs of physical damage on the motherboard, such as burnt spots, cracked components, or bulging capacitors.
- Reset BIOS/CMOS: Try clearing the CMOS by removing the battery on the motherboard for a few minutes and reinserting it. This can help reset settings and sometimes resolve hardware detection issues.
If the motherboard appears damaged or the yellow light still doesn’t go away, it may be worth consulting the motherboard’s support documentation or contacting support to determine if it needs repair or replacement.
Step 5: Examine Peripherals and External Components
- Disconnect Non-Essential Components: Remove non-essential peripherals such as storage drives, GPUs, and any external USB devices.
- Boot with Minimal Components: Try booting with only the CPU, one stick of RAM, and the PSU connected. If the yellow light disappears, reconnect components one by one to identify the culprit.
Final Thoughts
A yellow motherboard light can feel like an overwhelming issue, but often, with a few troubleshooting steps, you can pinpoint and resolve the cause. Start with the RAM, check your power connections, and inspect the CPU. If none of these steps resolve the issue, there’s a chance it may be the motherboard itself, and consulting technical support could be the next best step.
With patience and methodical testing, you’ll be able to turn off that yellow light and get back to enjoying your PC.
Also Read:
Replaced Thermal Paste but CPU Temp Still High – Fixed
WiFi networks not showing up on Windows 7 – Fixed


