Upgrading a CPU can breathe new life into your PC, boosting performance and handling more demanding applications. However, it’s not uncommon for a PCIe card, such as a GPU or sound card, to stop working after this upgrade. This issue can be frustrating, but it’s often due to changes in the system configuration, BIOS, or hardware compatibility. In this guide, we’ll walk you through the troubleshooting process to help resolve the issue of a PCIe card not working after a CPU upgrade.
Table of Contents
- What Is a PCIe Card and Its Functionality?
- Why PCIe Card Issues Occur After a CPU Upgrade
- How to Fix PCIe Card Issues After a CPU Upgrade
- Checking Hardware Compatibility
- Updating BIOS Settings
- Re-seating the PCIe Card
- Resetting the CMOS
- Driver Reinstallation
- Checking Power Supply
- Conclusion
1. What Is a PCIe Card and Its Functionality?
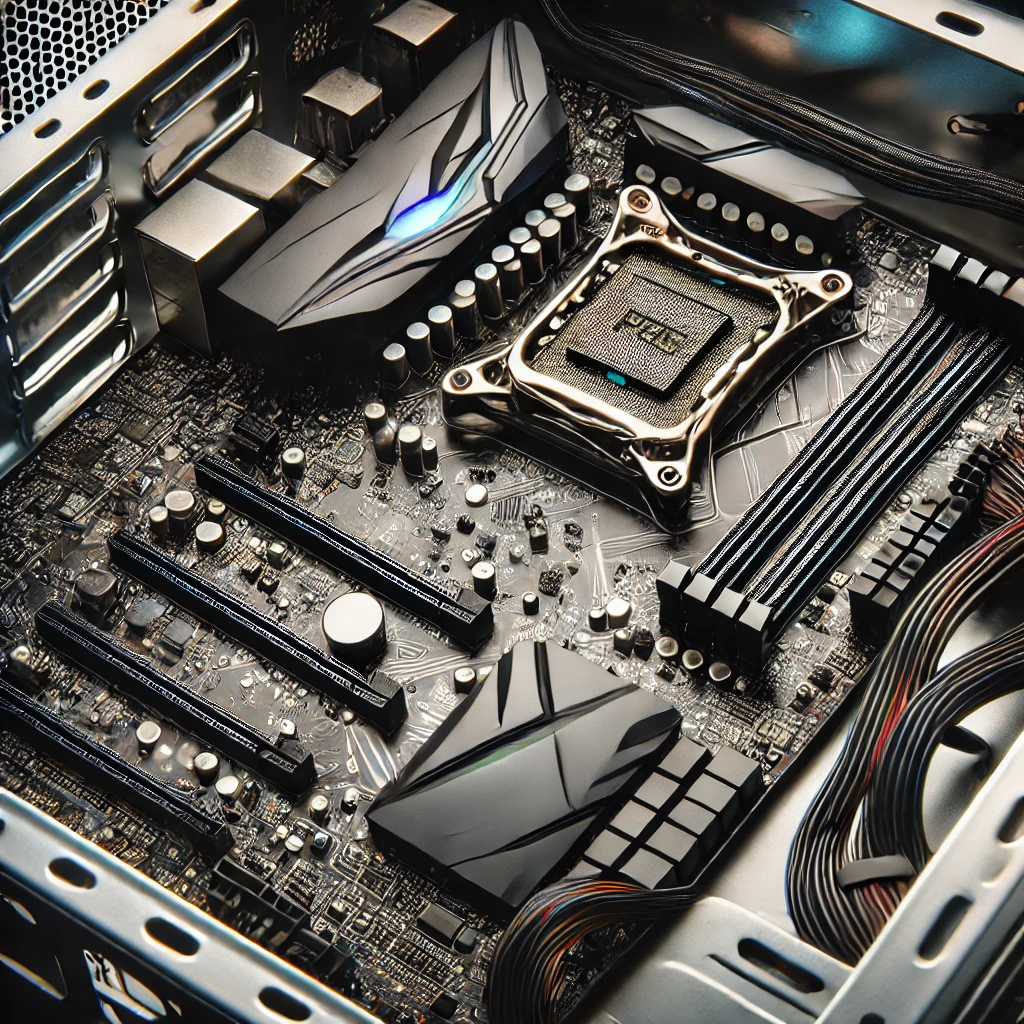
A PCIe card is an expansion card that connects to your motherboard via a PCIe slot. These cards serve various functions, such as improving graphics performance (with a GPU), offering enhanced sound quality (with a sound card), or providing additional storage or network capabilities. PCIe slots are available in different sizes like x1, x4, x8, and x16, with x16 being the most common for graphics cards.
2. Why PCIe Card Issues Occur After a CPU Upgrade
After upgrading your CPU, several factors can cause the PCIe card to stop functioning:
- BIOS Settings Reset: Changing the CPU may revert your BIOS settings to default, which can affect the PCIe slot functionality.
- Compatibility Issues: Some motherboards might have compatibility issues with certain PCIe cards after a CPU upgrade, especially if the chipset and PCIe lanes are affected.
- Power Distribution Changes: A new CPU might demand more power, reducing the power available to the PCIe slots.
- Outdated Drivers: CPU upgrades may require new drivers, and some expansion cards may not work properly without updated software.
- Seating and Connection Issues: Replacing a CPU can accidentally move or disturb the seating of PCIe cards or connectors.
3. How to Fix PCIe Card Issues After a CPU Upgrade
If your PCIe card has stopped working after a CPU upgrade, follow these troubleshooting steps:
A. Checking Hardware Compatibility
Before anything else, ensure your CPU and motherboard are compatible with the PCIe card. Some CPU upgrades might affect how PCIe lanes are allocated, particularly for graphics cards.
- Motherboard Manual: Review the motherboard manual for any instructions regarding PCIe lanes with a new CPU.
- Check Compatibility: Visit the manufacturer’s website for your motherboard to confirm that your new CPU supports the same number and types of PCIe lanes as your previous one.
B. Updating BIOS Settings
- Access BIOS: Reboot your PC and enter the BIOS by pressing a key (usually DEL, F2, or ESC) during startup. Check out this guide if you’re struggling.
- Check PCIe Settings: Look for options related to PCIe slots and ensure they’re set to Auto or Gen 3/4 depending on your hardware.
- Update BIOS: If you’re using an older version of the BIOS, a BIOS update might fix PCIe compatibility issues after a CPU upgrade. Be cautious when updating the BIOS, as this is a sensitive process.
C. Re-seating the PCIe Card
Sometimes, during the CPU upgrade, the PCIe card may become slightly dislodged. Re-seating it might solve the problem.
- Turn Off the PC: Shut down the system completely and unplug it.
- Remove the PCIe Card: Open the case, carefully unscrew, and remove the PCIe card from its slot.
- Re-seat the Card: Re-insert the card firmly into the PCIe slot and ensure it’s properly aligned and secure.
- Reconnect Power: If your PCIe card has an external power connection (common with GPUs), ensure it’s securely connected.
D. Resetting the CMOS
The CMOS (Complementary Metal-Oxide-Semiconductor) stores BIOS settings, and resetting it can sometimes solve post-CPU upgrade issues.
- Locate the CMOS Battery: The battery is usually a coin-cell type battery on the motherboard.
- Remove the Battery: Turn off the system, unplug it, and remove the battery for about 5-10 minutes.
- Replace the Battery: Reinsert the battery and reboot the system.
E. Driver Reinstallation
After a CPU upgrade, your system may need fresh drivers for proper communication between the PCIe card and the motherboard.
- Uninstall Old Drivers: Go to Device Manager, find the PCIe device (such as GPU), and uninstall the driver.
- Download Latest Drivers: Visit the card manufacturer’s website to download and install the latest drivers.
- Reboot the System: Restart your PC after reinstalling the drivers to apply changes.
F. Checking Power Supply
A new CPU can increase the overall power demand on your system, potentially leaving less power for PCIe cards. Make sure your PSU (Power Supply Unit) can handle the increased load.
- Check Wattage: Compare the wattage requirements of the new CPU and your PCIe card with the capacity of your PSU.
- Upgrade PSU: If necessary, consider upgrading to a higher-wattage PSU to ensure stable power delivery to all components.
Conclusion
Dealing with PCIe card issues after a CPU upgrade can be frustrating, but with systematic troubleshooting, you can usually resolve the problem. Start by checking hardware compatibility, ensuring BIOS settings are correct, and physically re-seating your PCIe card. In some cases, a BIOS update, driver reinstall, or resetting the CMOS may also be required. If power supply becomes an issue, upgrading to a higher-capacity PSU may be the final solution.
By following this guide, your PCIe card should be back up and running, allowing you to enjoy the full benefits of your new CPU upgrade.
Also Read: Best Red PC Cases: Top 7 Picks for a Bold and Stylish Build


